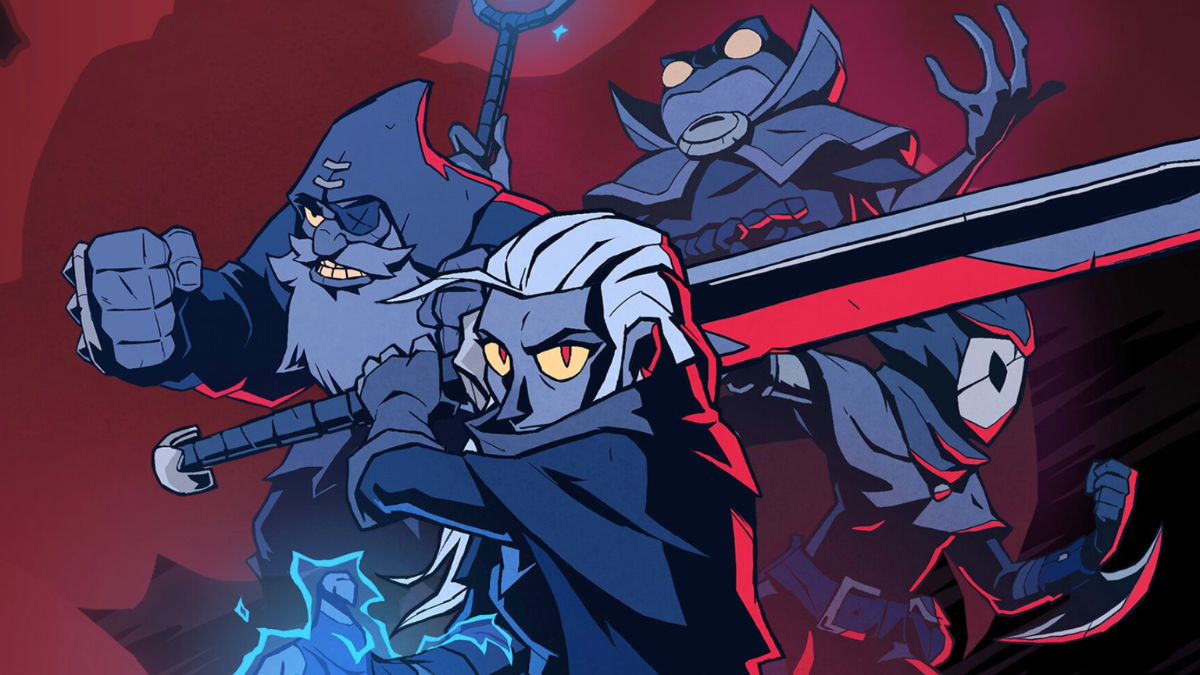
How I Learned to Control Galandra in Absolum (Instead of Button Mashing)
When you first pick up Galandra in Absolum, it’s easy to feel overwhelmed. She’s fast, technical, and full of hidden depth. There’s a moment — and every Galandra player hits it — where the game stops feeling like a roguelite build-builder and starts feeling like a true beat ’em up, where execution matters just as much as your loadout.
This Absolum guide is written to help you bridge that exact gap.
Whether you’re learning her buttons for the first time or trying to push your combos just a bit further, this walkthrough focuses on combat fundamentals, skill expression, and practical combos you can apply in real runs — not just long lab setups.
Understanding Core Combat Mechanics
Before learning what Galandra can do, it helps to understand the rules the game itself follows. These apply to every character:
Punish
When you hit an enemy during their recovery — after they whiff, get deflected, or clash — the entire combo deals more damage. Not just the single hit.
This is why timing matters more than button speed.
Repetitive
Use the same move too many times, and the game reduces your damage. This encourages mixing attacks, not mashing.
Overpressure
This prevents infinite combos. You’ll see a flash before it triggers — that last hit becomes a guaranteed Critical and the enemy is staggered longer.
You can reset Overpressure by using your Ultimate (L2 + R2).
Tech Hit (OTG)
You can hit enemies that are knocked to the ground. Some moves only say they “can” hit OTG — Galandra has a few that hit OTG even when the UI doesn’t indicate it.
Wallbounce
If an enemy hits the wall, you can continue the combo.
Wallbounces do not build pressure, so they are extremely valuable for extending combos safely.
Impact Hit
When enemies collide with each other, walls, or the ground, they take collision damage.
This is free damage if you know how to create it.
Understanding these systems is what separates “pressing buttons” from playing well.
Learning Your Basics (Galandra’s Foundation Moves)
Before unlocking additional moves mid-run, Galandra’s base kit already contains everything needed to play effectively. Getting comfortable here makes everything else easier.
Strike Combo
- The 3rd hit carries your momentum — use it to reposition
- You can cancel into Heavy Attack, and vice versa
- The 4th hit causes wallbounce, making it a natural combo starter
Skill
This launches the enemy, setting up:
- Wallbounce routes
- Aerial follow-ups
- Auto-combo sequences
Think of it as the “lift-off” button.
Jump Attacks
- 1st hit can OTG in specific matchups (useful vs Cider & Brome)
- 2nd hit gives air control and affects your momentum mid-combo
Air Skill
- Causes wallbounce AND ground bounce
- Your strongest natural combo ender
- Can be done almost instantly after jumping (low jump heavy = fastest clash)
Running Attack
This is where Galandra starts to feel expressive:
- Causes collision damage
- Cancels into air heavy
- Works diagonally for movement control
- Hits OTG
This move is her “neutral reset” and one of the most flexible tools in her entire kit.
Throws
- Forward throw sends enemies far
- Back throw keeps them close
- Up throw sets up juggle combos
- Throws have iframes, but don’t beat grabs
Choosing Your Arcana
This choice changes how Galandra feels to play. None are “bad” — but each rewards a different style.
| Arcana | Strengths | Ideal Use |
|---|---|---|
| Reaper Cyclone | Consistent wallbounce & strong grounded clashing | Corner pressure |
| Draconic Ascent | Best air combo starter, huge corner carry | Combos & mobility |
| Revenge Claw | Strongest non-wall hit, full invuln, safe counter | Risky enemies |
| Necrotic Wave | Excellent crowd clearing | Rooms & mob waves |
| Phantom Impale | Grabs armored enemies, strong wall conversions | Boss punishes |
| Dark Helix | Flexible setups, lower damage | Style & control |
If you’re new, Draconic Ascent is the easiest Arcana to feel improving your play.
How to Build Combos the Right Way
Think of combos in Absolum like training drills — not scripts to memorize.
Use drilling to improve:
- Spacing
- Timing
- Momentum control
- Enemy awareness
Important Combo Concepts
Dash Canceling
After most hits, you can cancel into dash. This is the heart of keeping combos continuous.
Dash Jump
Dash → Jump lets you continue combos on enemies that normally leave your ground range.
Beginner-Friendly BnB Examples
Simple Wallbounce Route:
Running Attack → Jump Heavy → Skill → Air Arcana
Side Switch Drill:
Heavy → Jab x3 → Dash → Cross Under → Continue
Loop Example (With Dive Kick):
Strike (3rd hit) → Running Attack → Dive Kick → Air 1 → Strike (3rd hit) (repeat rhythmically)
Don’t worry about speed — worry about rhythm.
Using Inspirations to Shape Your Playstyle
Inspirations change the texture of Galandra’s combos.
- Charged Sword: Best opener and punish tool — massive guard break.
- Blade Flurry: Great when buffed; careful — 3rd hit locks commitment.
- Blade Spin: Multi-hit = great with Ritual modifiers.
- Burial Smash: Crowd utility + directional grab control.
- Claw Finisher: Adds aerial routes (conflicts with Dive Kick).
- Arcana Mastery: Makes your chosen Arcana sharper, faster, more expressive.
If you want “Galandra but flashier” → pick Blade Spin or Arcana Mastery.
If you want “break their posture and delete them” → Charged Sword.
Rituals and Trinkets That Actually Change Gameplay
These affect feel, not just damage numbers:
Rituals
- Fire Ring → makes juggling much easier
- Chrono Lock → more punish windows
- What Remains → faster access to Overpressure
- Mana Flow → more abilities per combo
Trinkets
| Tier | Trinket | Why It Matters |
|---|---|---|
| Common | Boots / Lucky Charm | Smooths movement & consistency |
| Rare | Orb of Potency / Claw Charm | Mana stability & anti-armor |
| Epic | Mobius Band | Removes Repetitive penalty = combo freedom |
Mobius Band is the single biggest shift in how expressive Galandra becomes. If you find it — treat it as a “skill unlock.”
Where This Leaves You
Galandra is the kind of character who rewards attention.
The more you learn her momentum, spacing, and rhythm, the more Absolum opens up — less like a roguelite lottery, more like a combat system you actively master.
You don’t need the perfect build.
You need comfort in the core loop:
Clash → Punish → Wallbounce → Extend → Overpressure → Reset → Continue
Once that rhythm clicks, everything else becomes creativity.